Who Counts All of the Fabric?
October 1, 2019
5 Areas to Focus Your Attention
March 29, 2020Have you ever lost a job to a competitor because they provided your potential client with a faster quote? With the Internet, clients are conditioned to getting immediate information. Don’t risk losing any job because a quote took too long. Knowing enough about measuring so you can give clients a quick quote is essential!
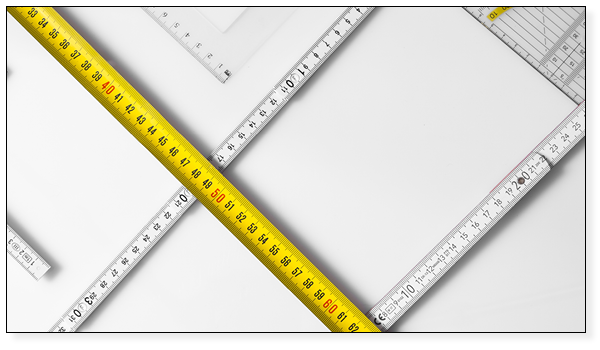
1. Tools for Measuring
- Carole Fabrics offers webinars on Measuring Guidelines if you need help.
- Use Carolenet, or any smart ordering system to enter measurements and create accurate, timely estimates.
- Always use a steel tape measure in good condition. Never use anything flexible to measure since accuracy is very important.
- If you are using electronic/laser measuring devices always carry a steel tape as a backup. If there are any obstructions in the way of the laser you will need to use your tape.
2. When Using Your Installer to Measure...
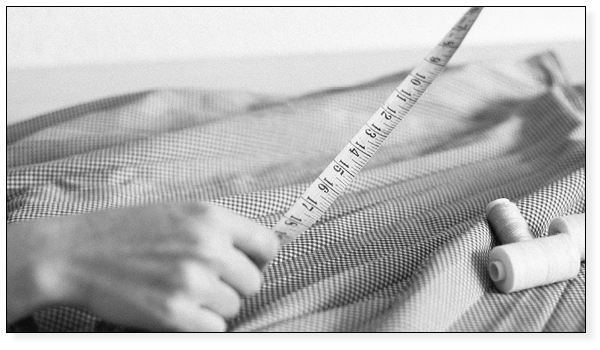
Installers are an important part of the measuring process. Use them as insurance with a remeasure once you get the client. Just advise your client that this is an initial estimate and that you will have a professional installer remeasure to finalize the installation details.
With some basic measuring tools and a smart quoting system you will be able to provide your clients with a fast quote that is accurate pending any installer input!
3. Make Architectural Sketches and Take Photos

- Make a drawing of the window you are covering including everything on the entire wall (distance to corners, ceiling, any furniture, built-ins, etc.)
- This diagram gives you a record to use in conversations with your installer as well as something to refer to later if needed. It can save you a trip back to your client’s home which saves time and money!
- Record all your measurements on this diagram.
- Take photos; Like your sketches, photos can help you remember details later that may impact your design and help you communicate with your installer.
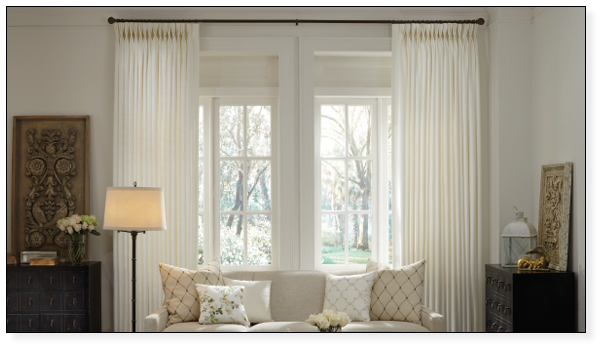
4. Visualize Your Design - Drapery Width
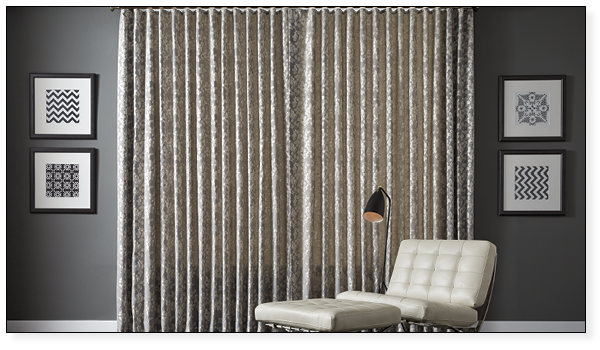
Focus on the width you want your drapery to cover.
Measure the width of the window including moldings. Add a minimum of 4” beyond the moldings on each side of the window which will help with privacy and light control. You can add more but these are recommended minimums.
This width is your “coverage width” or your Rod Width and is the width that the finished drapery must cover when installed on your hardware. Finials are never considered in drapery width but be sure you have enough room to install them on your rod if you are close to a wall.
If you are only ordering panels then your rod width will be one measurement and your panel width is the width you want the finished panel to cover.
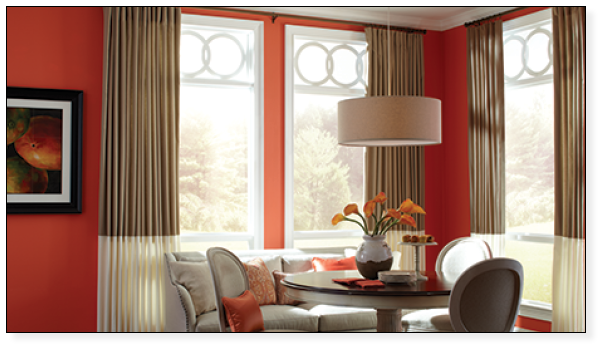
5. Visualize Your Design - Drapery Height
Focus on what you want your drapery finished length to be.
Measure the height to be at least 4” above the window including moldings. You can always go higher, even to the ceiling. I like to look at the space between the window molding and crown molding or ceiling then determine what will look best. Higher is usually better and I never split the distance equally. Aesthetics are much better when the distance is not split in half.
Be sure to consider where your hardware will be installed and allow enough space for brackets. Allowing a little flexibility for your installer is always a good idea. If you are installing on the ceiling, there is no flexibility so be accurate!
Now, from your desired height, measure to the floor and adjust for your hem style
- Typically, ½” is deducted for floor clearance.
- If you want to create a small break at the hem of the drapery, add 1 – 2” to your measurements.
- Or you can puddle the drapery by adding 6 – 12” to your measurement. Breaking or puddling hems are best on stationary drapery panels as they require hand dressing.
6. Other Considerations
Returns: If your drapery has returns, they need to return back to the wall without putting tension on the last pleat or corner of your drapery.
Know what your hardware (bracket) projection will be and add ½” to that measurement to ease the tension on the corner. Example: If your bracket projection is 3 ½”, add ½” and order a 4” return.
Overlaps: Overlaps allow the leading edges of the drapery to close in the center and overlap to increase privacy and light control. This applies to traversing drapery rods with overlapping carriers.
- Stackback: If your client wants the drapery to clear the glass on their window when they open their drapery you will need to consider stackback. This is the amount of rod extension needed beyond the window to pull the fabric off the glass. There are charts and formulas that can be used. Contact us for specific information or attend the Carole Fabrics webinar on measuring for more information.
Be sure to add returns, overlaps or stackback to your desired width when ordering your drapery.
Carole Fabrics offers more in-depth training on our Webinars. Log in to Carolenet.com to sign up. We look forward to seeing you!

Susan Pfingst
National Training Coordinator
With over 35 years in the Home Design Industry, Susan brings her extensive experience in design and sales. Training is her passion and she looks forward to sharing her insight!